
Are you able to light a fire?
Now is the perfect time to get together with your family and friends around a firepit for evening warmth and fun as we enter the bitterly cold winter months. However, you must first make sure your fire stays lit.
You might be surprised to learn that there is more to starting a fire than just lighting a match and watching the wood burn. Although it’s not difficult, it takes some care and love to create a fire that doesn’t produce a lot of smoke and burns all night.
Step 1: Get everything organized
It’s a good idea, especially if your backyard is in suburban Australia, to verify the legality of a fire pits perth. For more information on how to ensure you do the right thing, please refer to our article
Three key materials are required to light a fire in a pit:
Tinder can be used to ignite things. You can think of straw, dry leaves, and newspaper. If you have it, fire starters and lighter fluid can be used. But that’s a bit of cheating.
Kindling are thin sticks or twigs which will quickly burn to get things started.
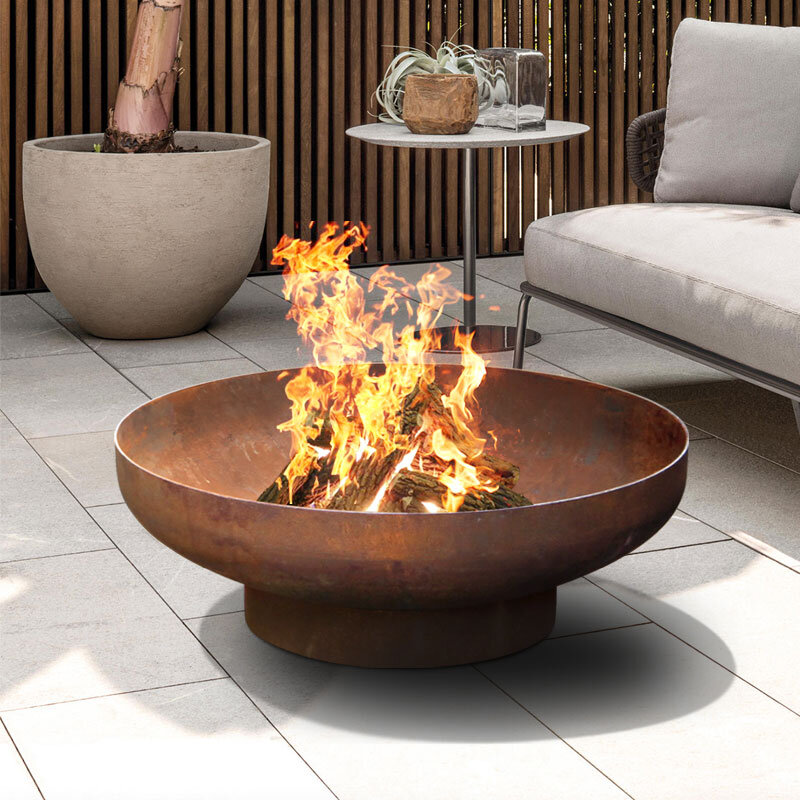
Fuel is the fuel that will keep your fire ablaze — old, dry wooden split logs. Your wood must be sufficiently dried or ‘seasoned’ to ensure a hot, clean fire. After everything has been lit, properly seasoned hardwood can provide almost smoke-free heat.
A substantial piece of firewood should last for at least 45 minutes.
A good supply of kindling or tinder is about an armful. If you don’t live in an area with abundant dead twigs, you can buy specific kindling in bags at Bunnings.
Step 2: Build Your Fire
First, lay down your tinder. Next, layer your kindling. You won’t need all of it at once. Place the kindling on a rough teepee over the paper or small branches.
At this stage, it is important to make sure there is enough space between the small kindling. The first stages of the fire must produce enough heat to ignite the kindling. This requires good oxygen flow.
Step 3: Light your fire, baby!
Set fire to your tinder by lighting a match. The tinder should begin to burn quickly. The tinder will begin to burn quickly and the flames from the tinder will draw up. Smaller pieces of kindling can also catch fire.
If you can see tiny coals developing on the thinnest bits of your kindling, and you hear the wood starting to ignite, then you’re in good shape. At this stage, don’t touch the fire. It just needs to get some momentum and heat.
Step 4: Layer your fuel
When the kindling is starting to burn, add your smallest bit of fuel. To ensure that there is enough airflow, arrange the fuel in a teepee-shaped container. Do not be surprised if some of the wood pieces fall. This helps to build embers and keeps the fire burning longer.
Start adding more wood to your smallest fuel.
It is important to have the fuel in a teepee configuration. To ensure that flames burn longer, airflow must be allowed to pass under the fuel. You can easily smother the fuel and cause it to burn out.
Step 5: Keep an eye out and ignite the flames
The real challenge starts once the fire is lit correctly and properly.
Be on the lookout for any stray embers, or flames that grow too large. It is important to have a high-quality portable fireplace. When working with fire, safety is paramount. Let the fire go out if it gets too big.
You can use any tinder or kindling you have left over to fuel the fire if it starts to die. You shouldn’t add fuel to the fires until they are sufficiently large. The fuel needs a larger, more intense flame to ignite so don’t try to add fuel before the fires are sufficiently large.
Step 6: Put out the flames
Your fire should be allowed to burn for at least an hour before you put it out. You should not place any fuel on the fire before you are ready to go.
The fire should be reduced to embers after an hour. To put out the flames, use sand or dirt. Use water only. Water can damage your fire pit and create steam. You can buy bags of dirt and sand at a hardware store for very little money if you don’t have any dirt.
There you have it! It’s not as easy as people think, but lighting a fire isn’t difficult. You can take your time and build the fire in layers. Just keep an eye on it. In no time, you’ll have a warm, roaring fire at your backyard firepit.